We’re very excited to announce that OpenBoxes can now be installed as a DigitalOcean droplet using the 1-Click App DigitalOcean Marketplace.
This makes installing OpenBoxes much easier as all of the legwork (i.e. installing dependencies, creating and populating the database, configuring the application) has been taken care of for you. You just need to create a DigitalOcean account, pick your droplet size, region, and go.
Note: You will be charged (2GB = $10 per month, 4GB = $20 per month, 4GB = $40 per month) by DigitalOcean for any droplets you create. If you are evaluating OpenBoxes make sure to delete your droplet when you are done with the evaluation. You can create a snapshot of your droplet if you plan to resume using OpenBoxes in the future.
Note: If you are just evaluating OpenBoxes, we recommend using at least a 2GB droplet ($10 per month). If you plan to run in production, we recommend using at least a 4GB droplet ($20 per month).
Getting Started
The following section will set you down the path to getting started with your first DigitalOcean droplet running OpenBoxes. The following steps may or may not be exact as DigitalOcean frequently updates their automated deployment workflow.
Create a new droplet
Step 0. Click the button
Click the Deploy to DigitalOcean button below.
![]()
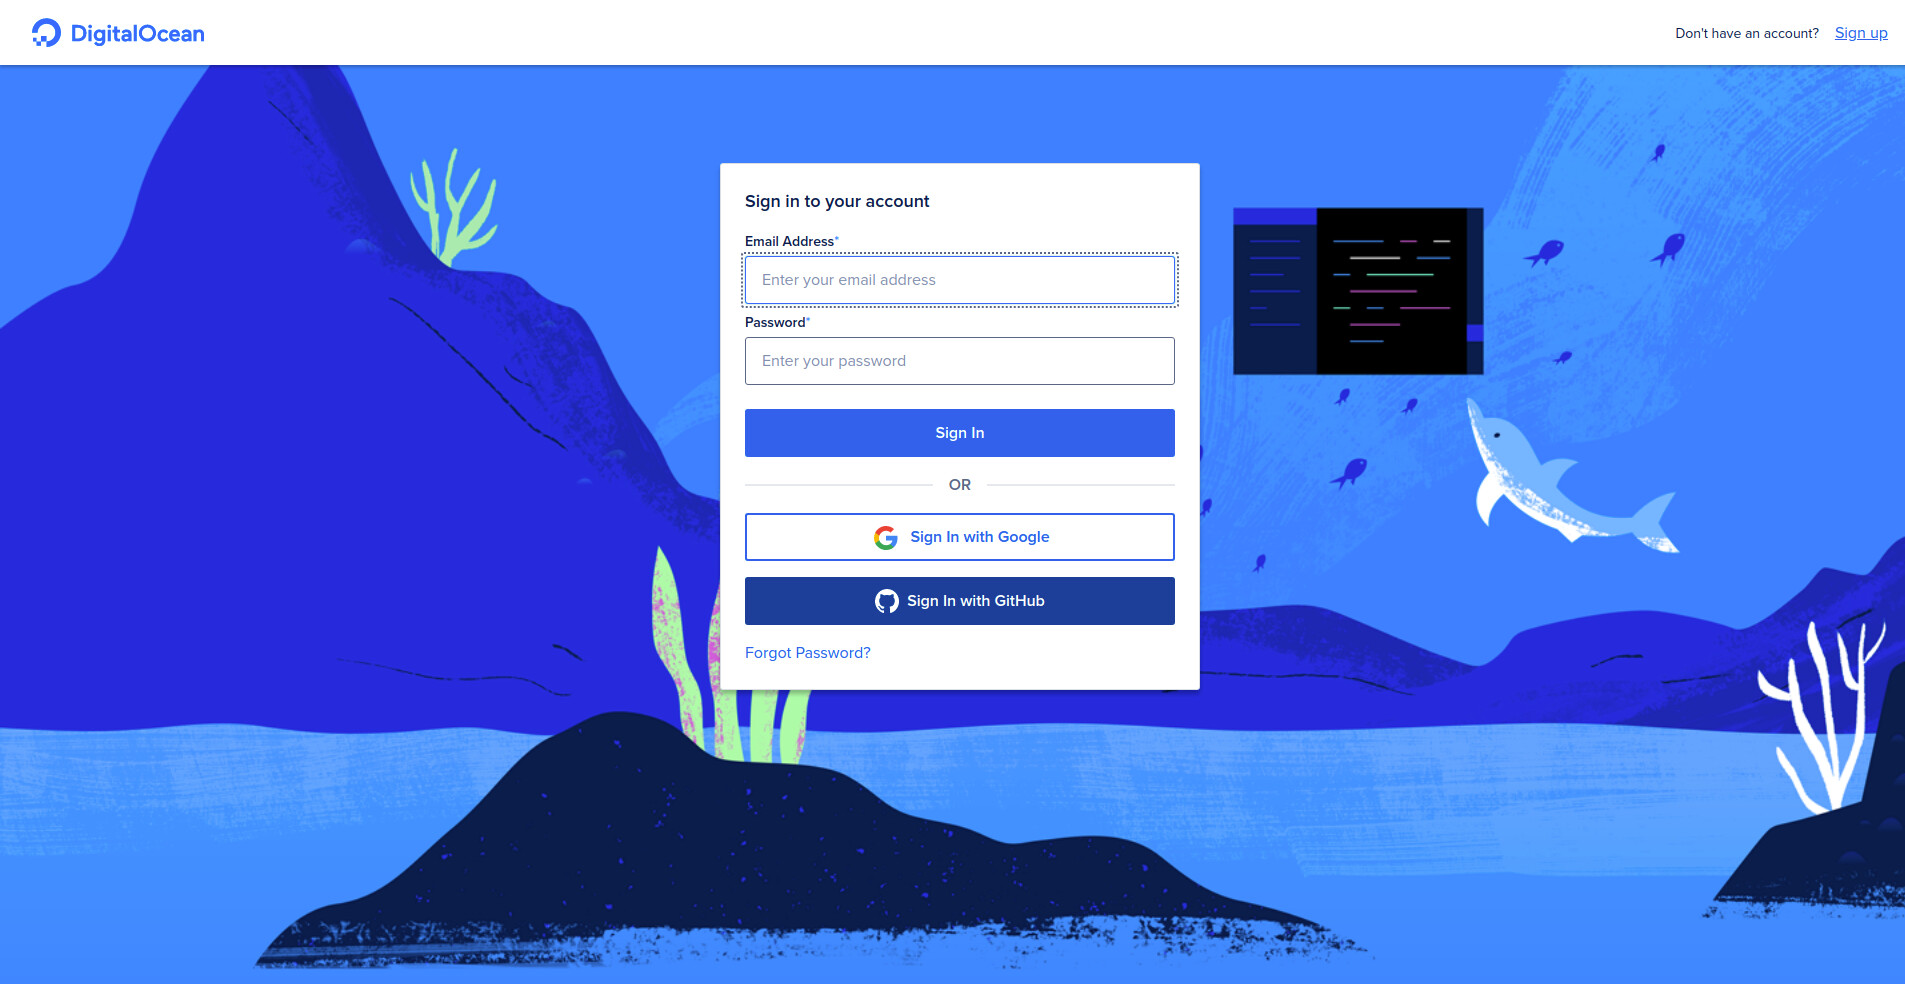
Step 1. Create or sign into your digital ocean account
The button will redirect you to DigitalOcean, where you will either need to sign in with an existing account or create a new account.
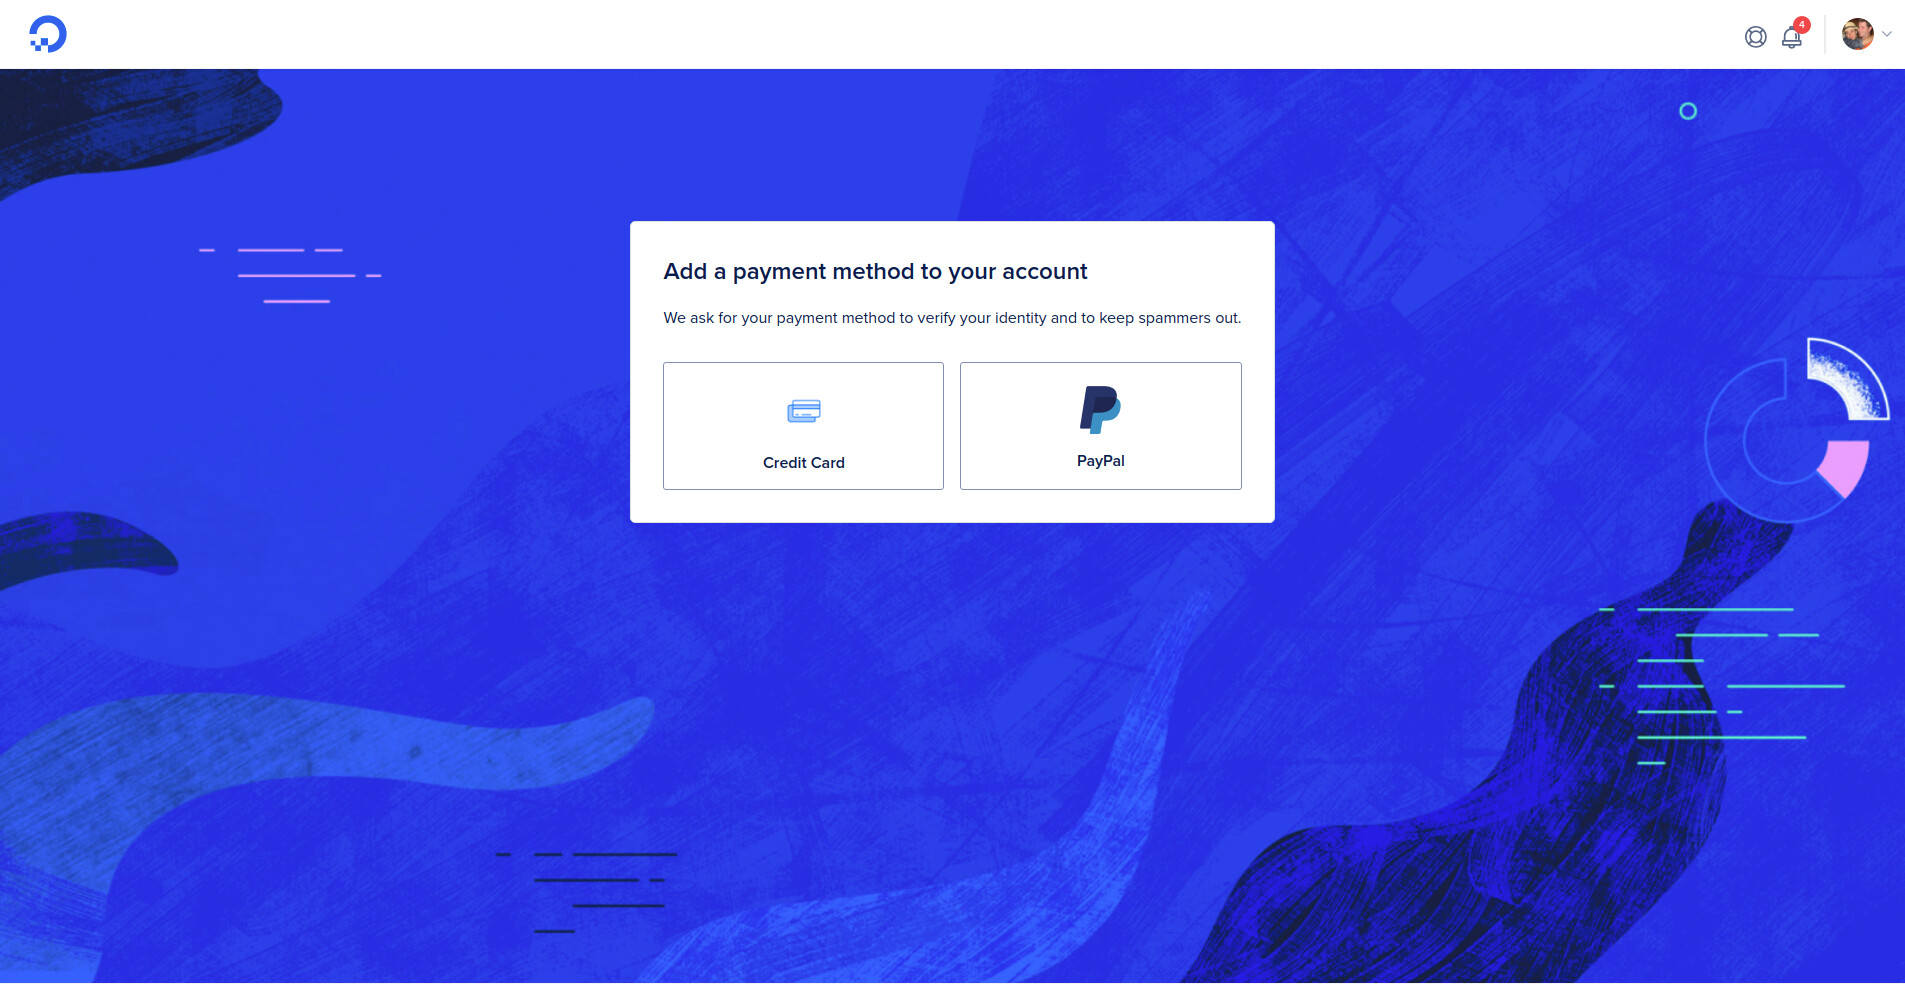
Step 2. Add a payment method
… because DigitalOcean needs to charge you for the resources you use.
Step 3. Choose options
Choose the appropriate region, data center, image, droplet type and size, and authentication mechanism,
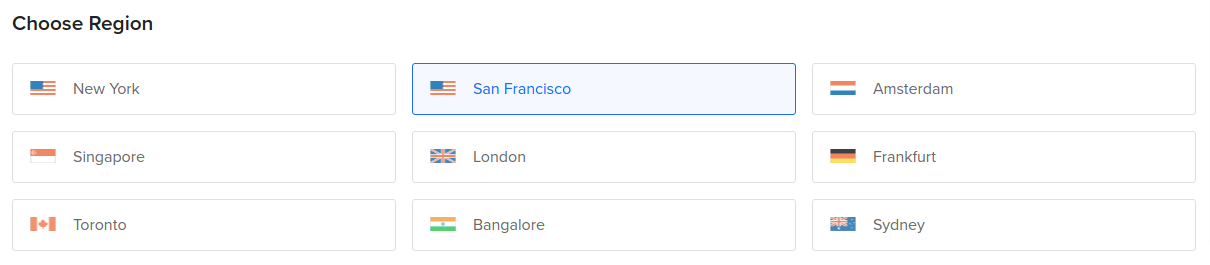
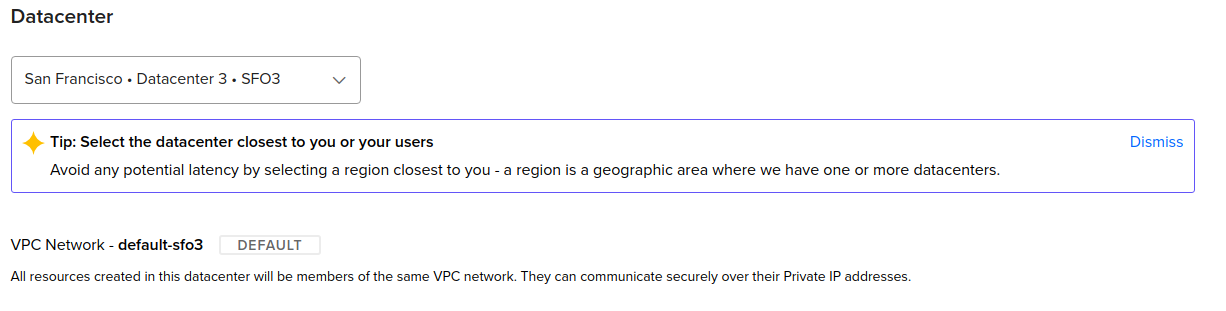
Region
Choose the Region and Data Center closest to you and/or your users).
Data Center
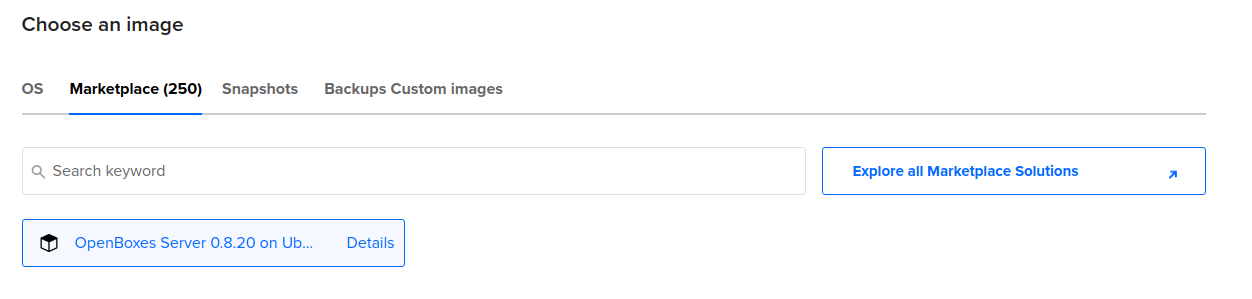
Image
If you clicked the link above, you should have OpenBoxes Server 0.8.20 selected by default. If not, you should be able to search for “OpenBoxes Server” under the Marketplace tab.
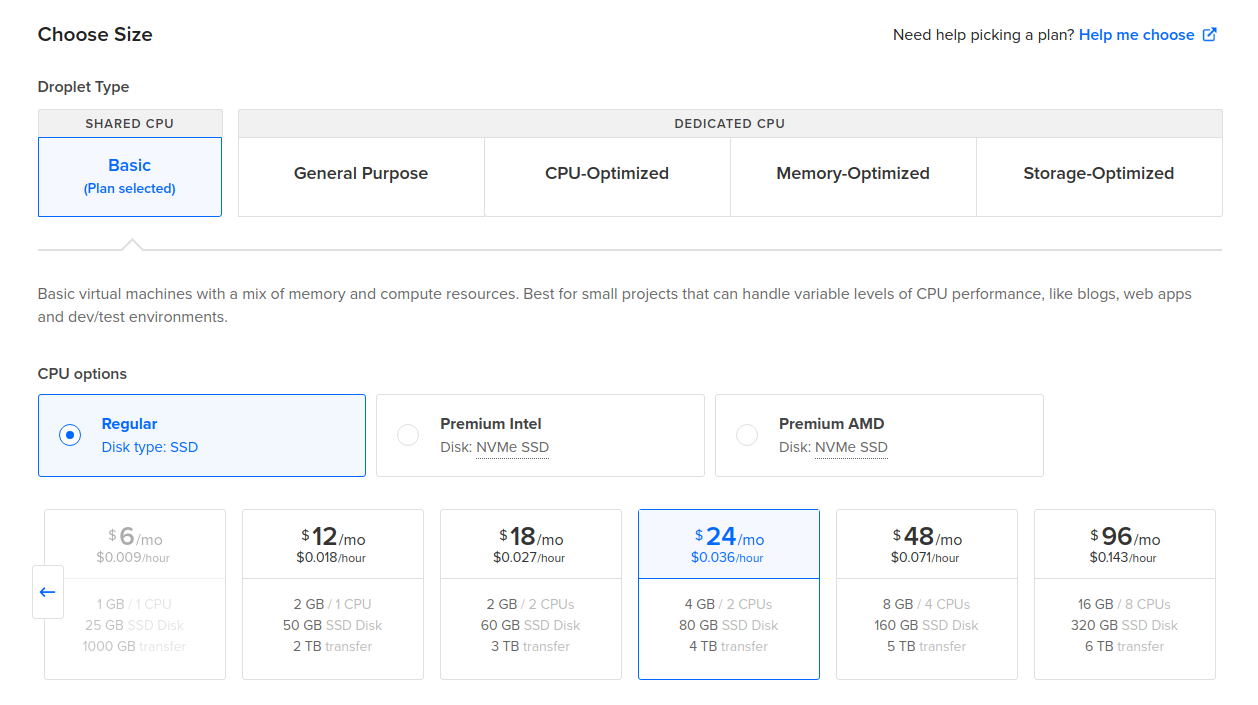
Size
You can customize this as you see fit, but the options below are basically the minimum required to run OpenBoxes.
Choose Authentication Mechanism
It’s recommended that you use the SSH key option, but feel free to use a password if you feel more comfortable.
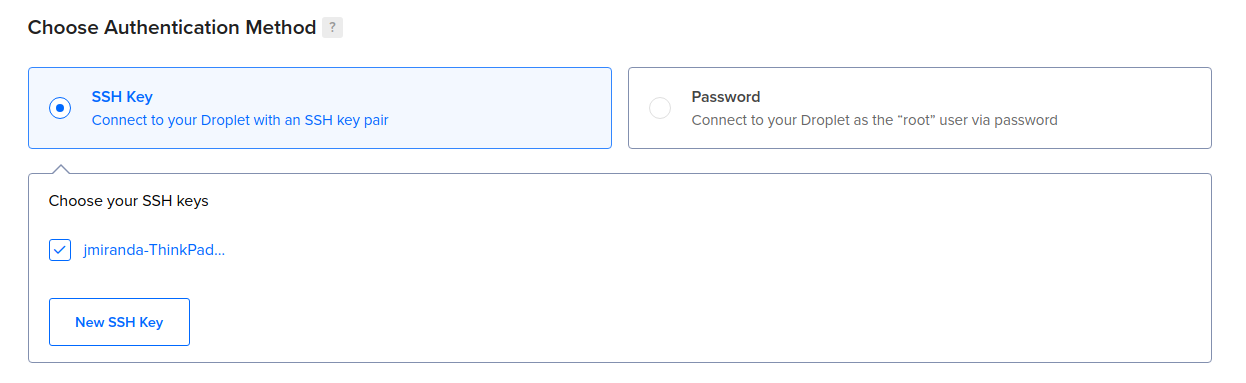
Note: You can also change the hostname and choose to enable backups (recommended for production).
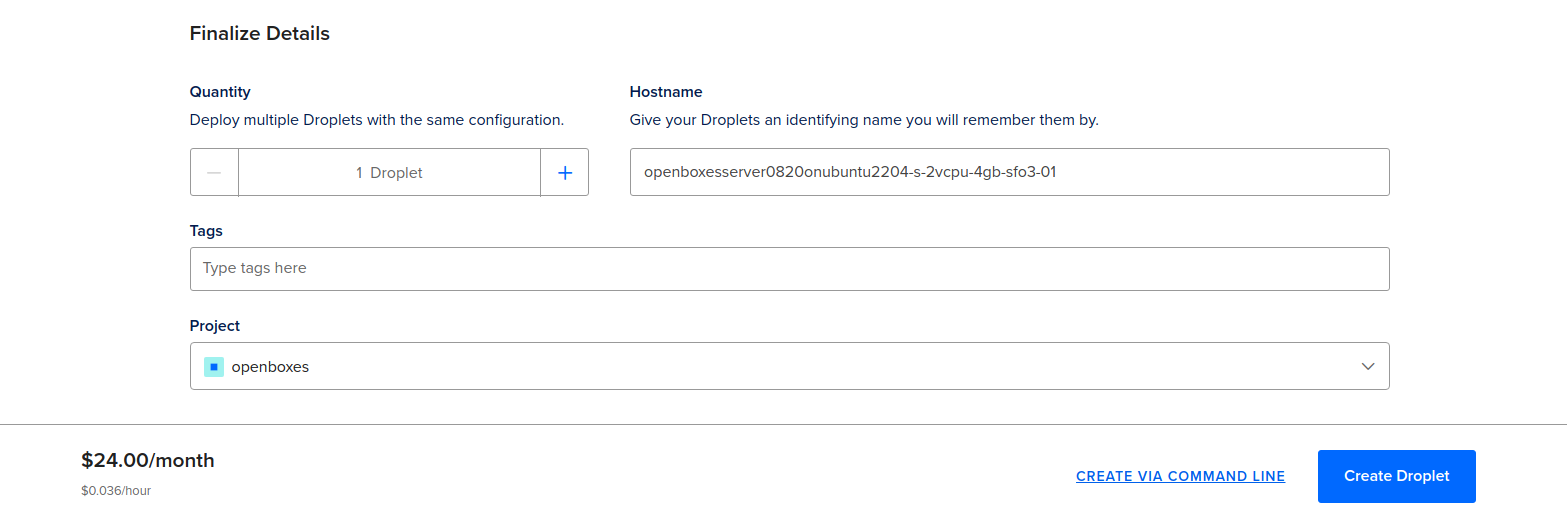
Step 4. Finalize Details
Review the options you’ve selected and when you’re ready, click on the Create Droplet button.
Once that is done, you’ll be redirected to your account workspace. Wait for the droplet to be created (this might take a few minutes). When it’s done you should see your new droplet in the Droplets list.
Next Steps
Step 1. Login to OpenBoxes
-
Click on the IP Address to copy it
-
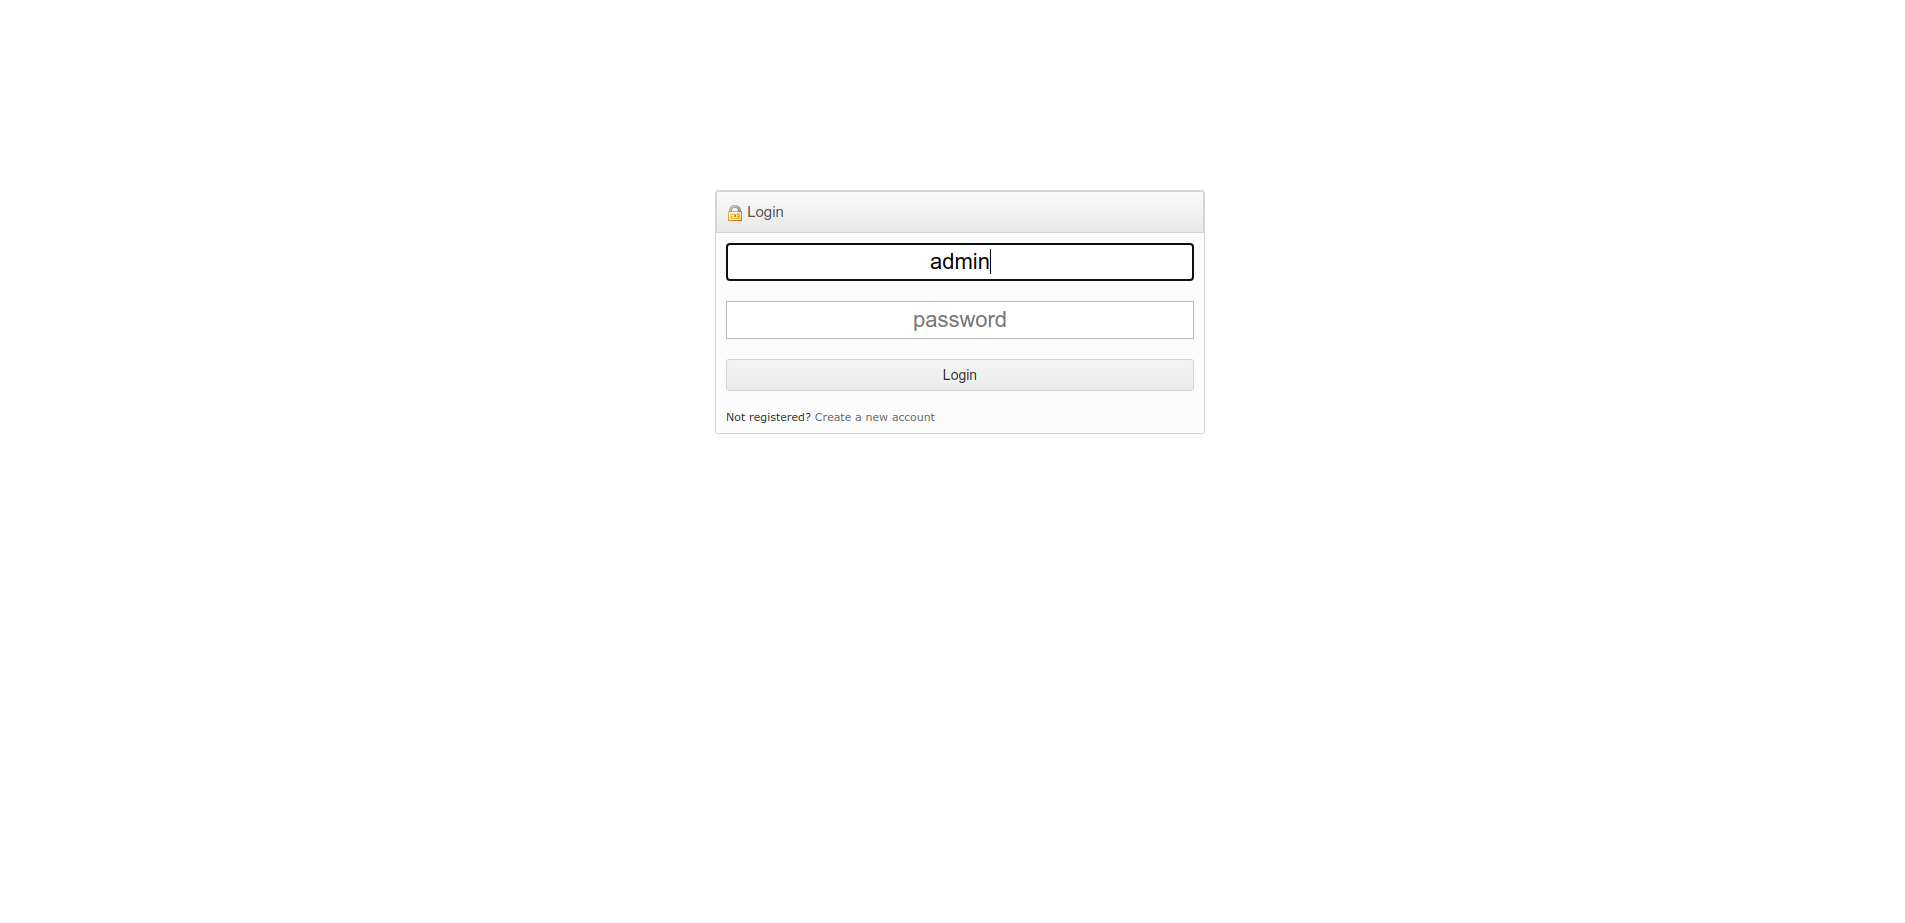
Open a new browser tab, paste IP Address, and click Enter
-
Enter username admin, password password
-
Click the Login button
-
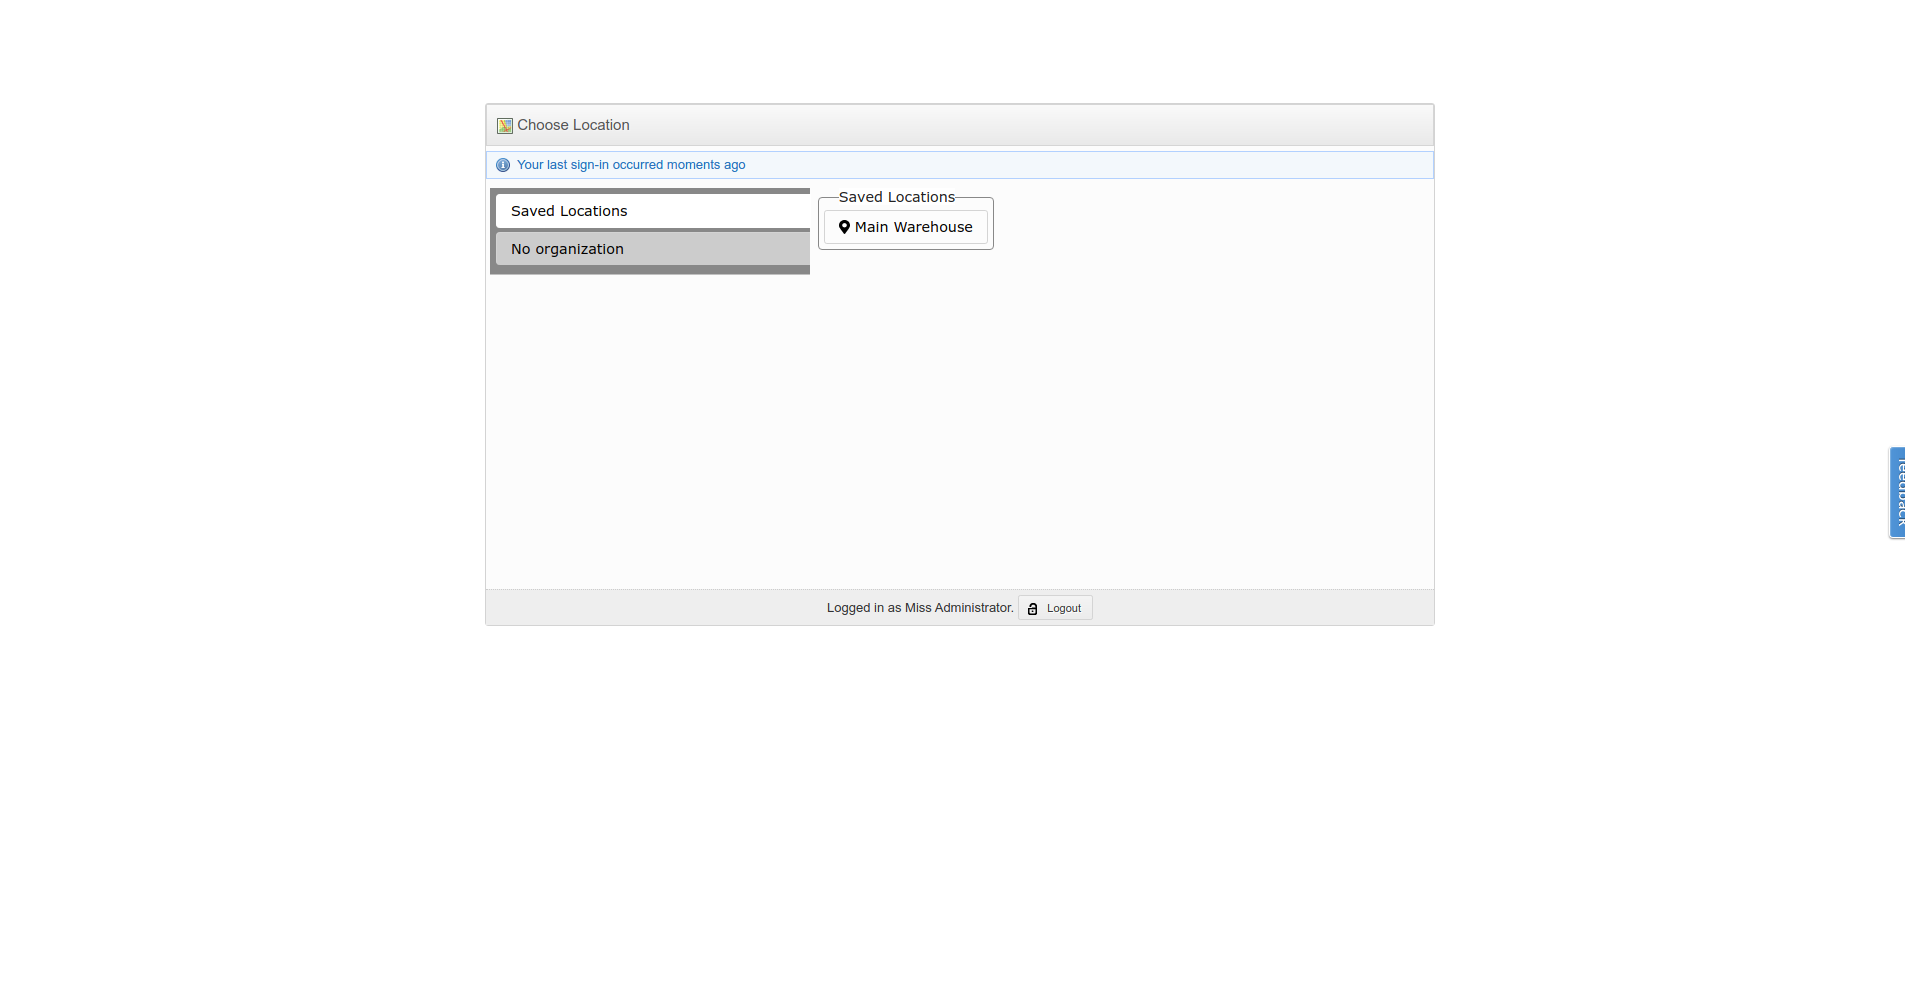
Choose Main Warehouse
-
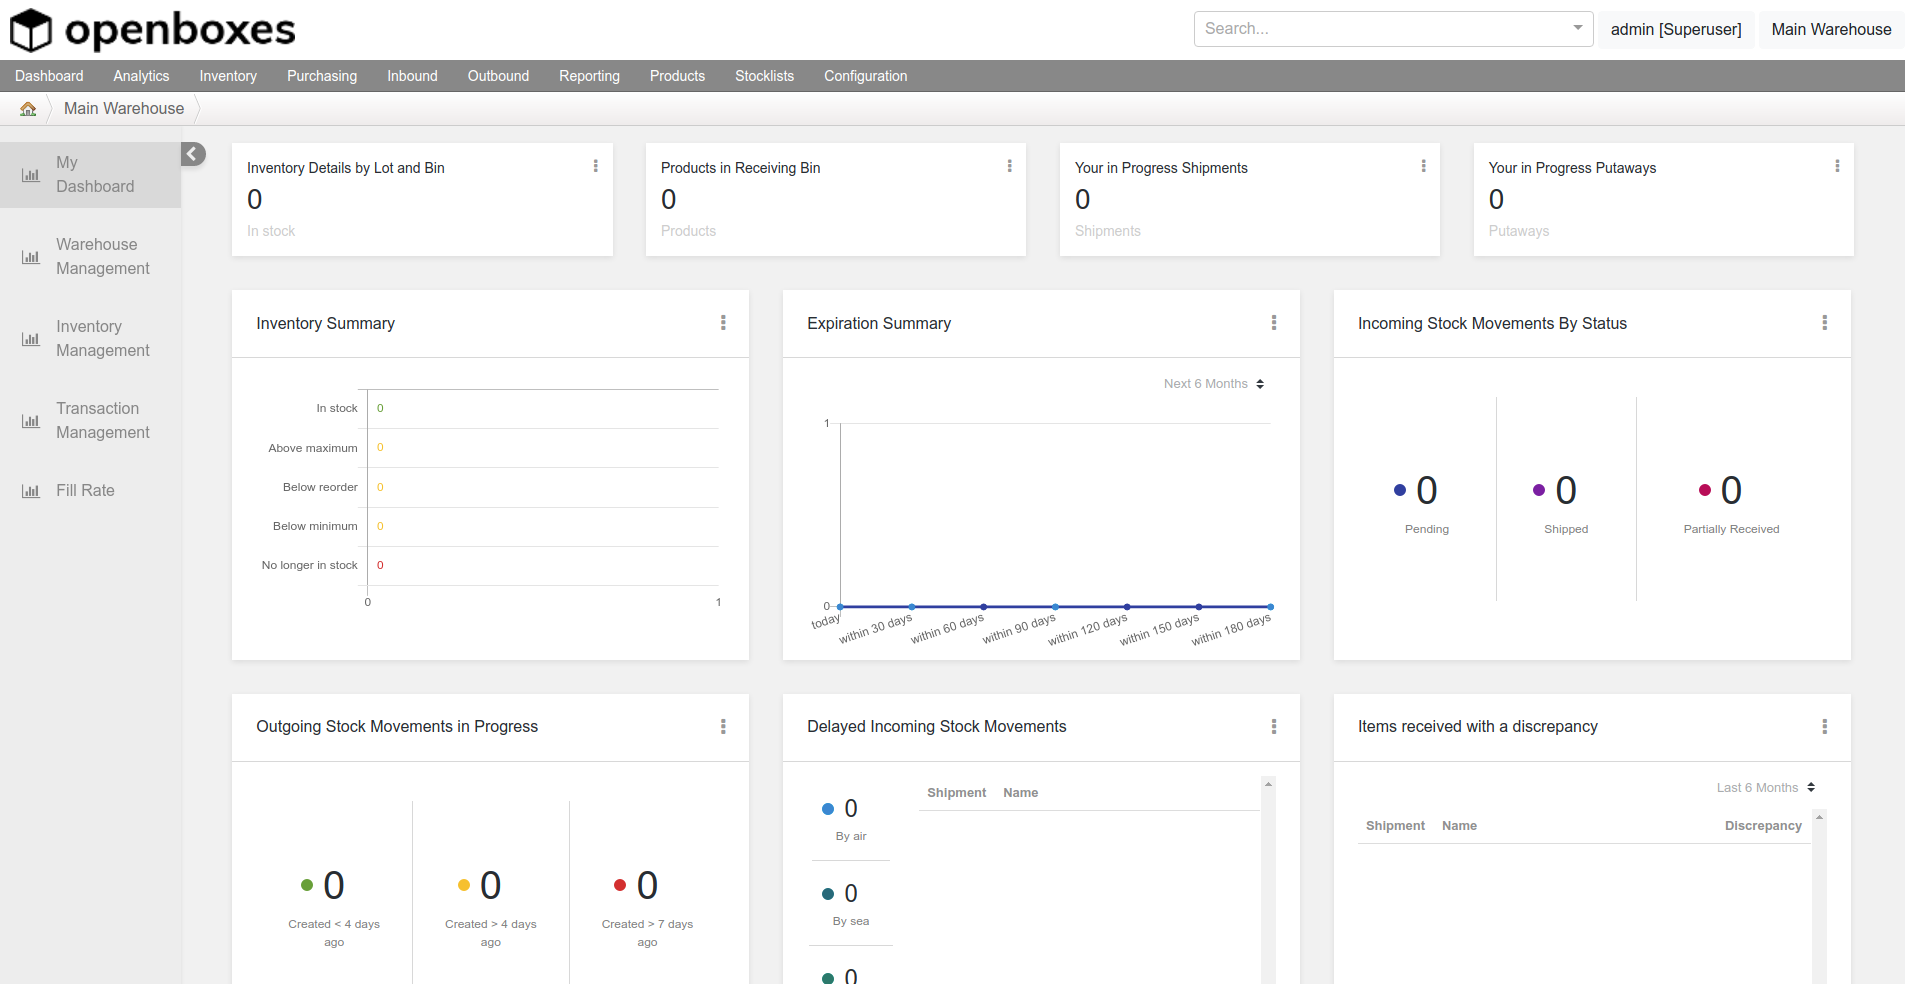
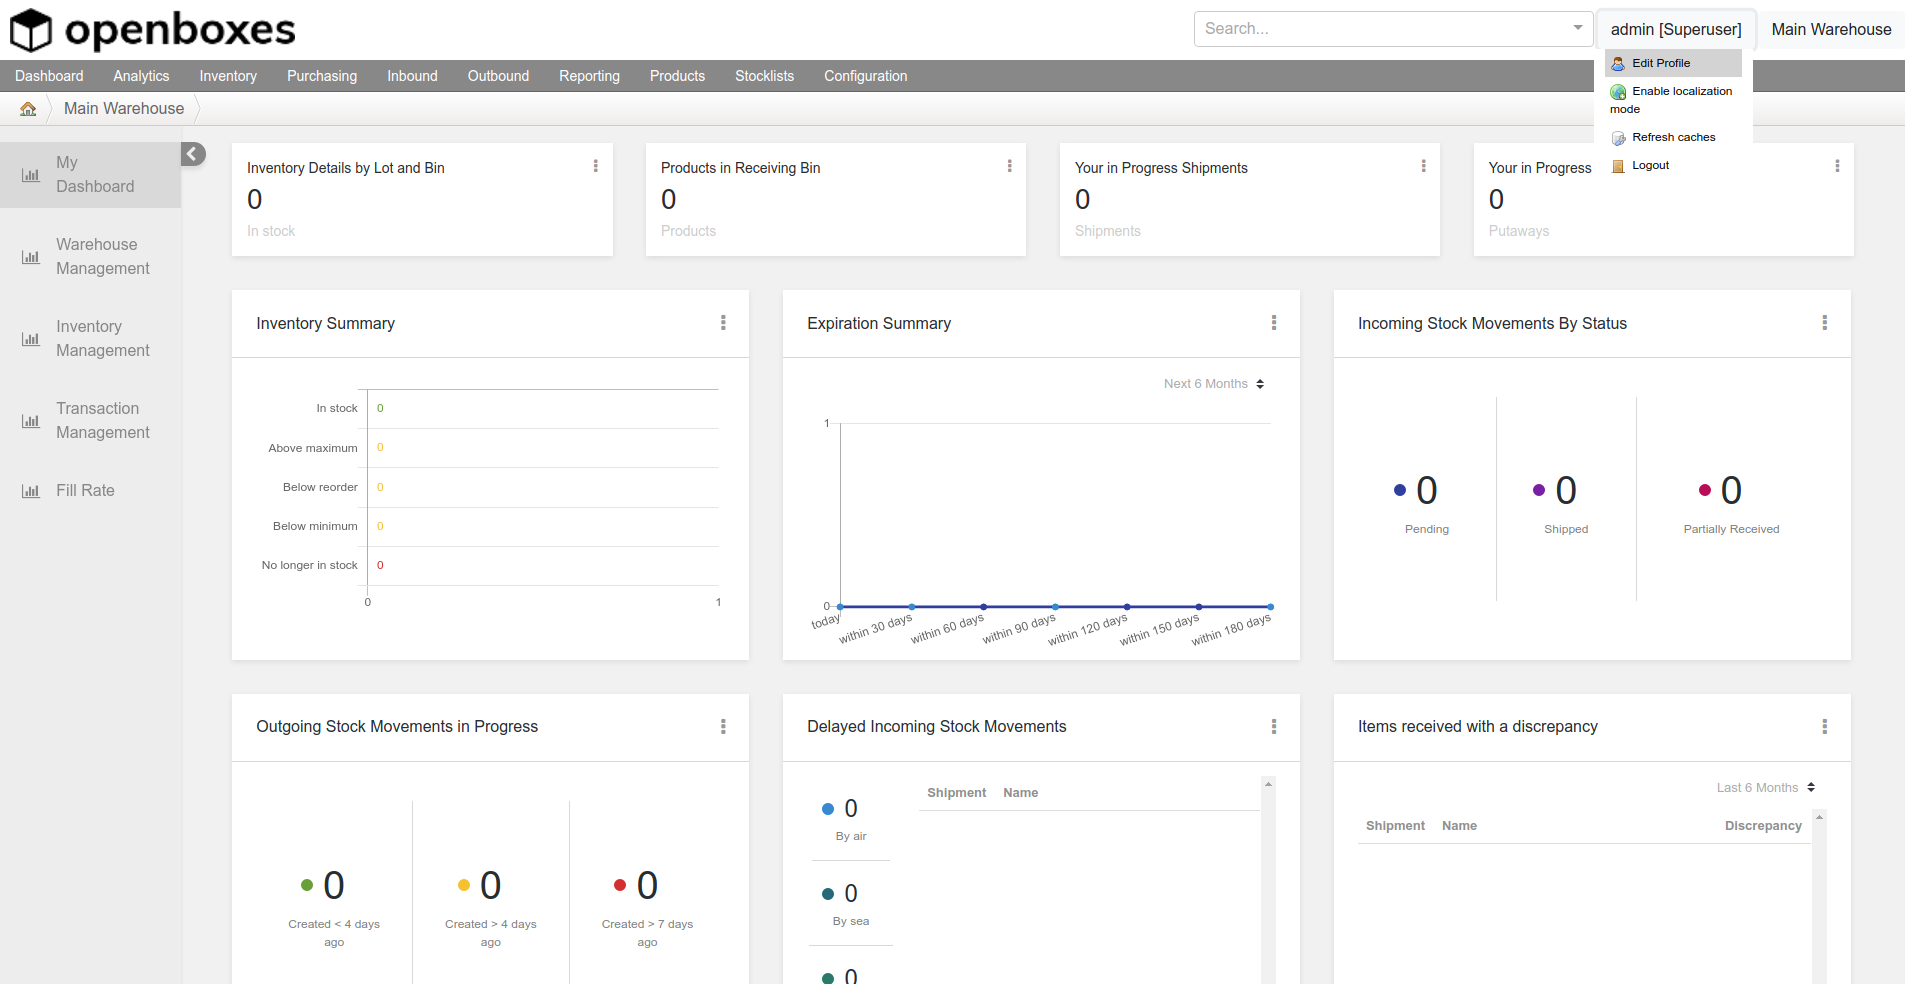
Enjoy the fleeting emptiness of your new dashboard
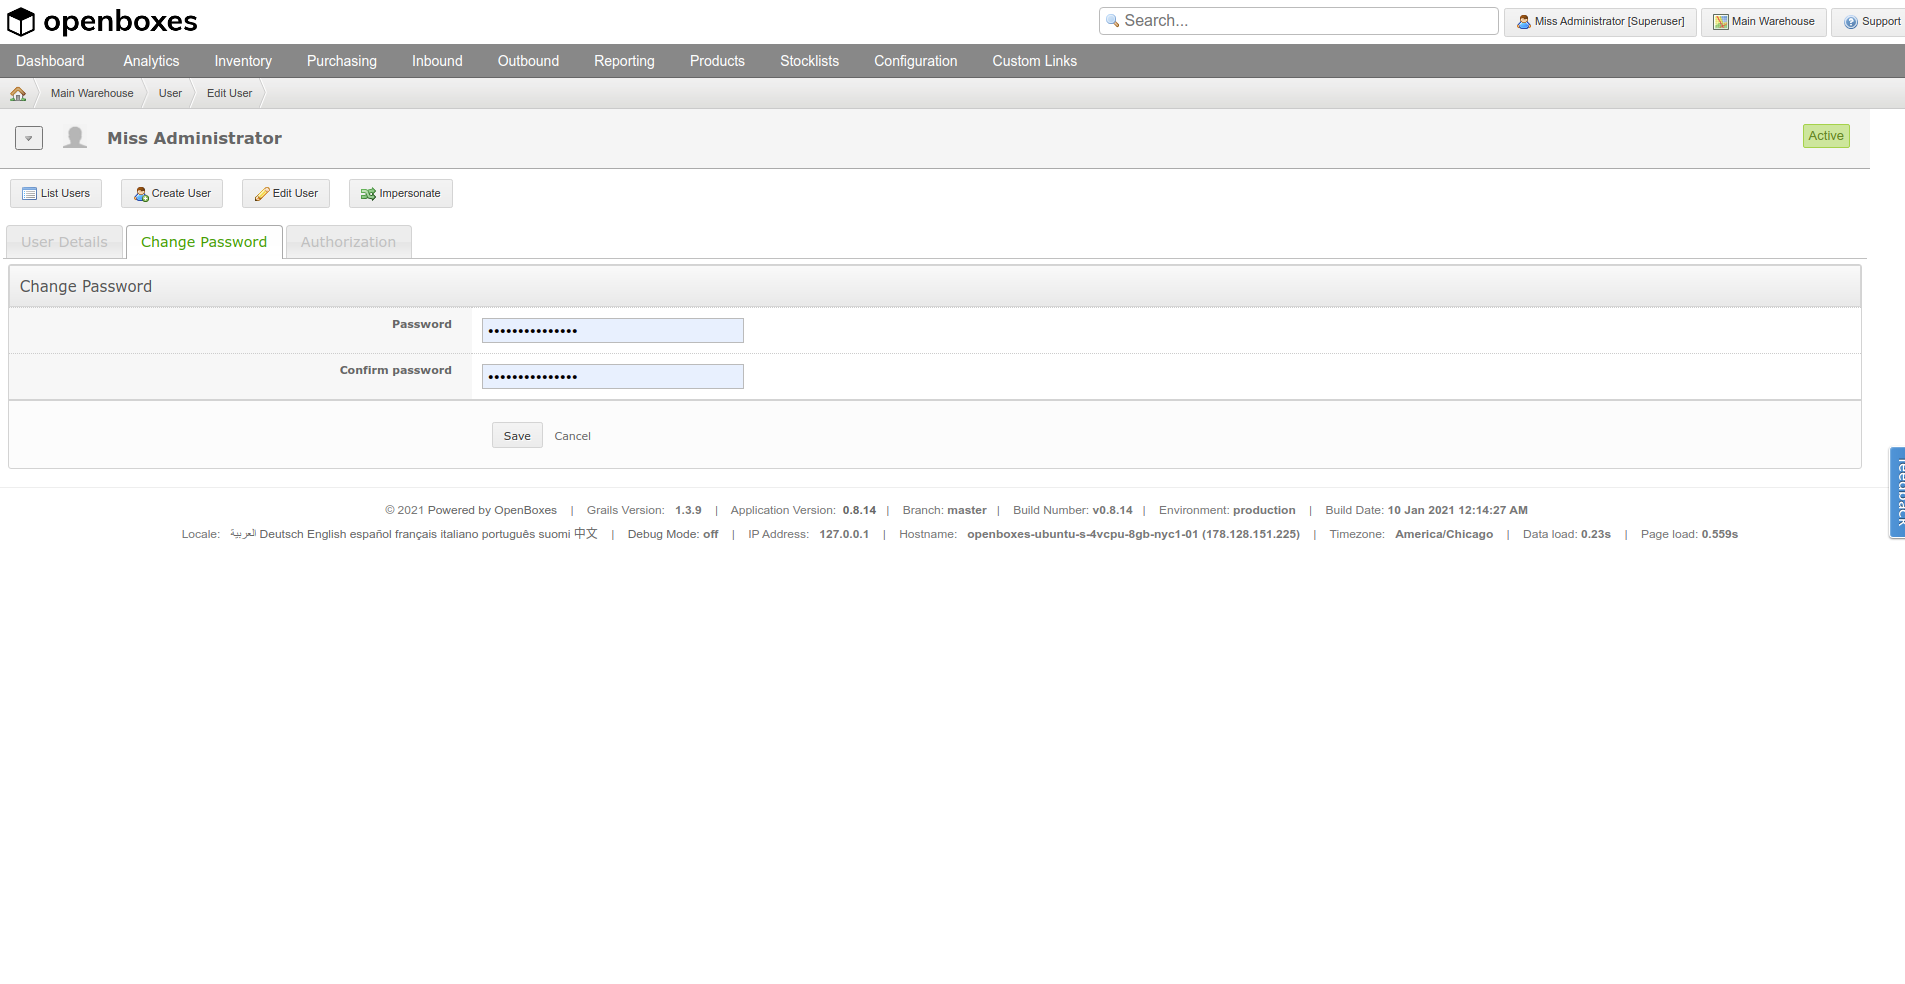
Step 2. Change Password
The first thing we need to do is change the default password. Otherwise everyone who knows your IP Address will be able to login with the default credentials (admin:password).
-
Navigate to the Edit Profile page
-
Click on the Change Password tab
-
Enter a new password in the Password and Confirm Password fields
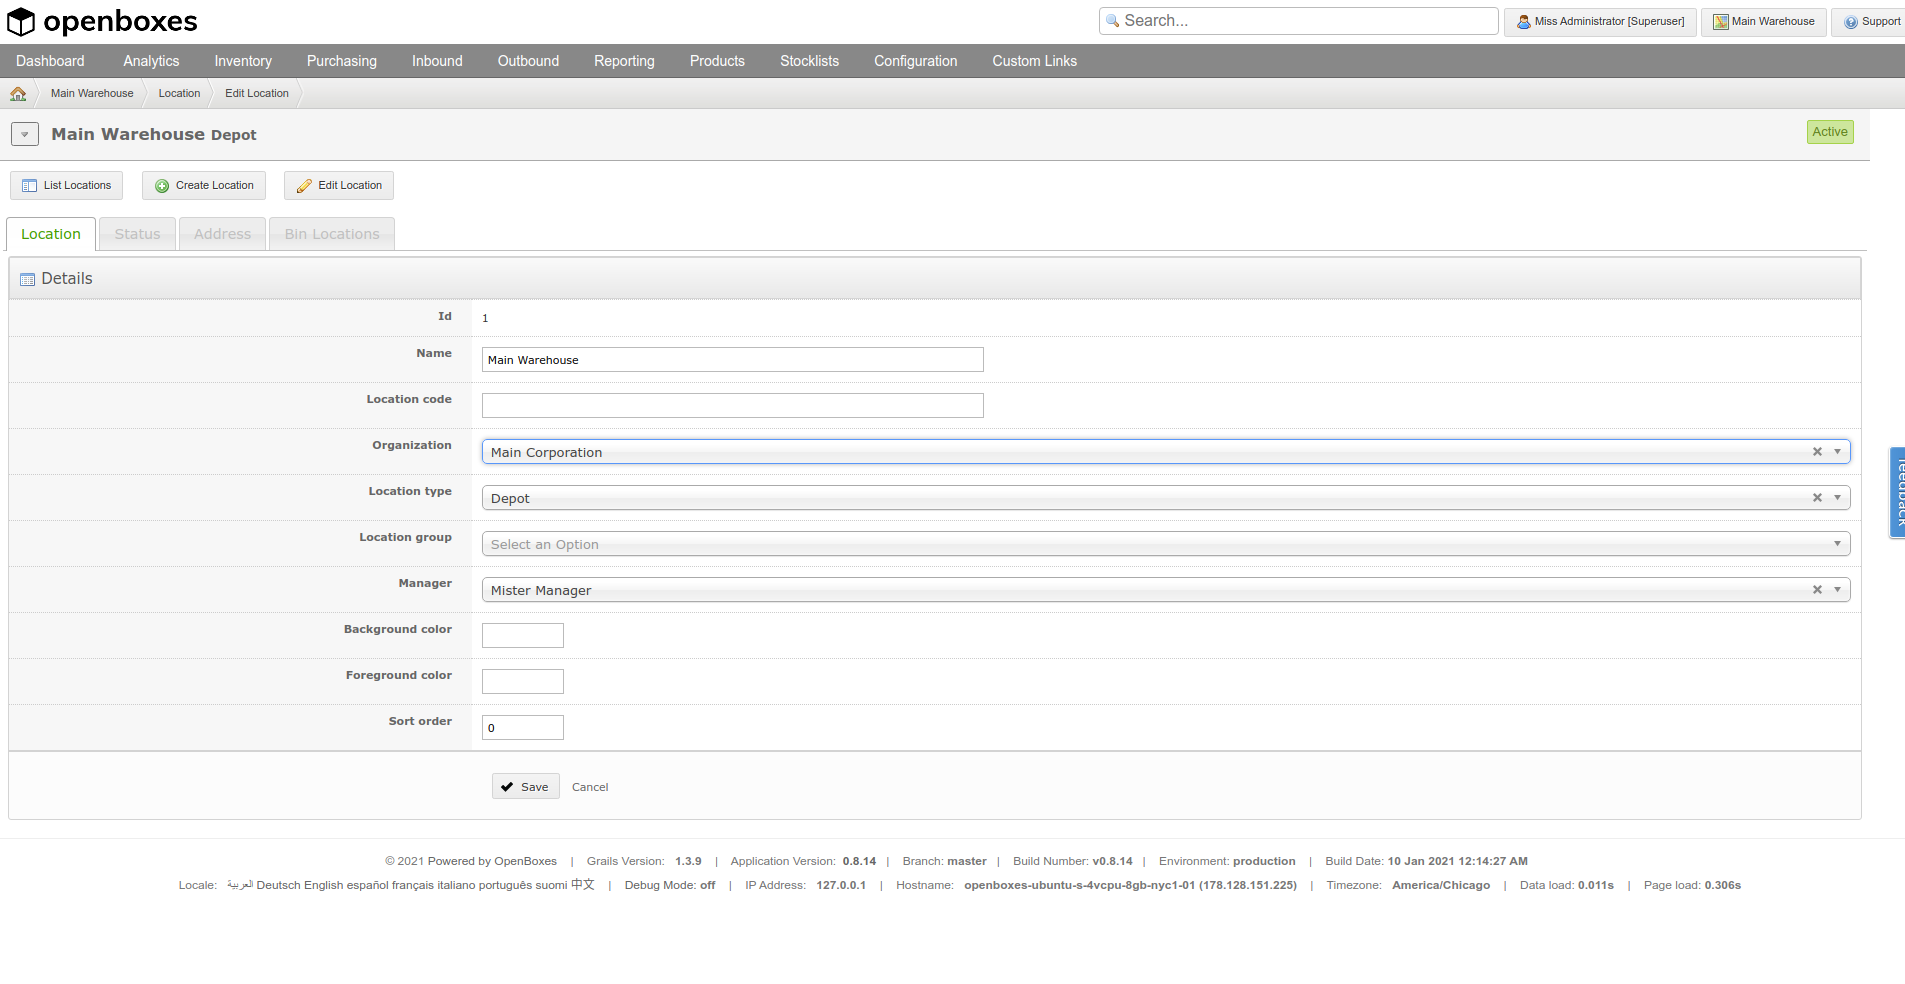
Step 3. Assign Organization (recommended)
One other change we need to make is setting the Organization field for the Main Warehouse.
-
Go to Configuration > Locations
-
Click on the Main Warehouse link to navigate to the Edit Location page
-
Choose Main Corporation from the dropdown list
-
Click the Save button
Step 4. Create a Product (optional)
-
Click on the Products > Create New Product
-
Enter the Name and Category

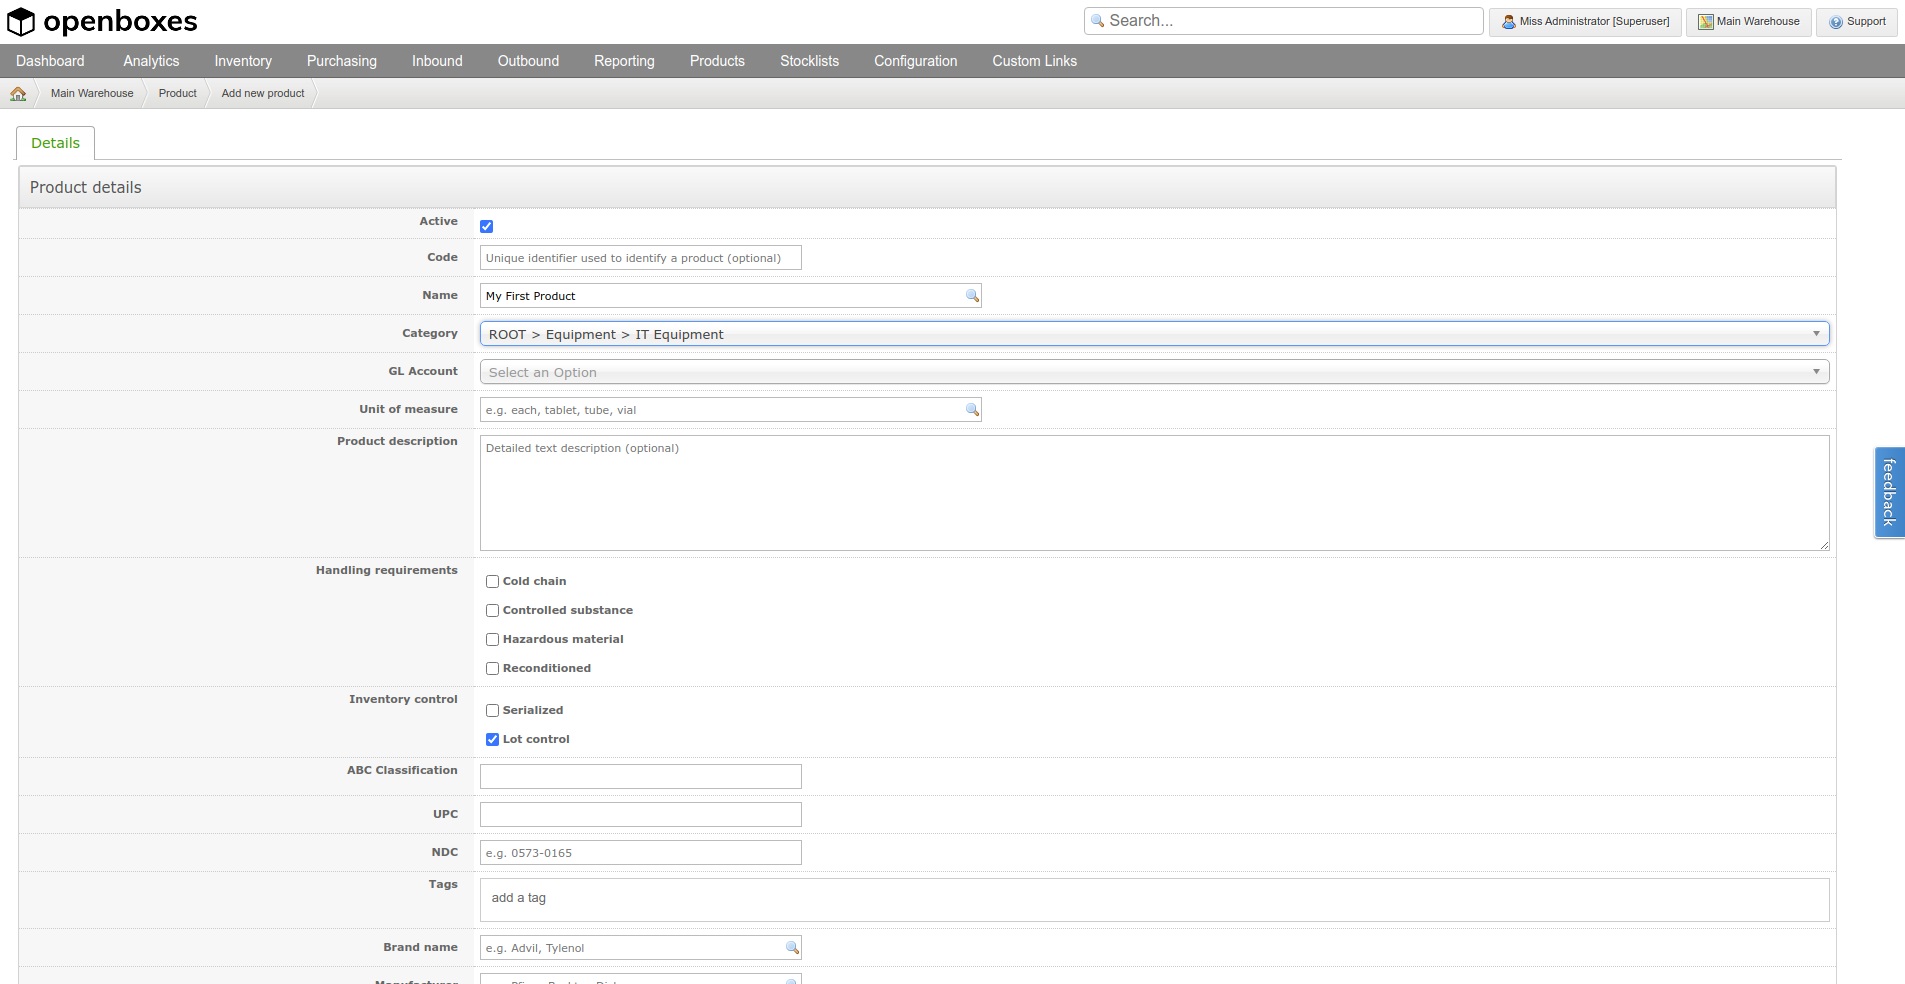
Note: Code will be populated automically, but you are free to use your own Product Code / SKU instead.
- Click the Save button at the bottom of the page.

Step 5. Record Stock (optional)
-
Click on the Record Stock button
-
Enter a lot number
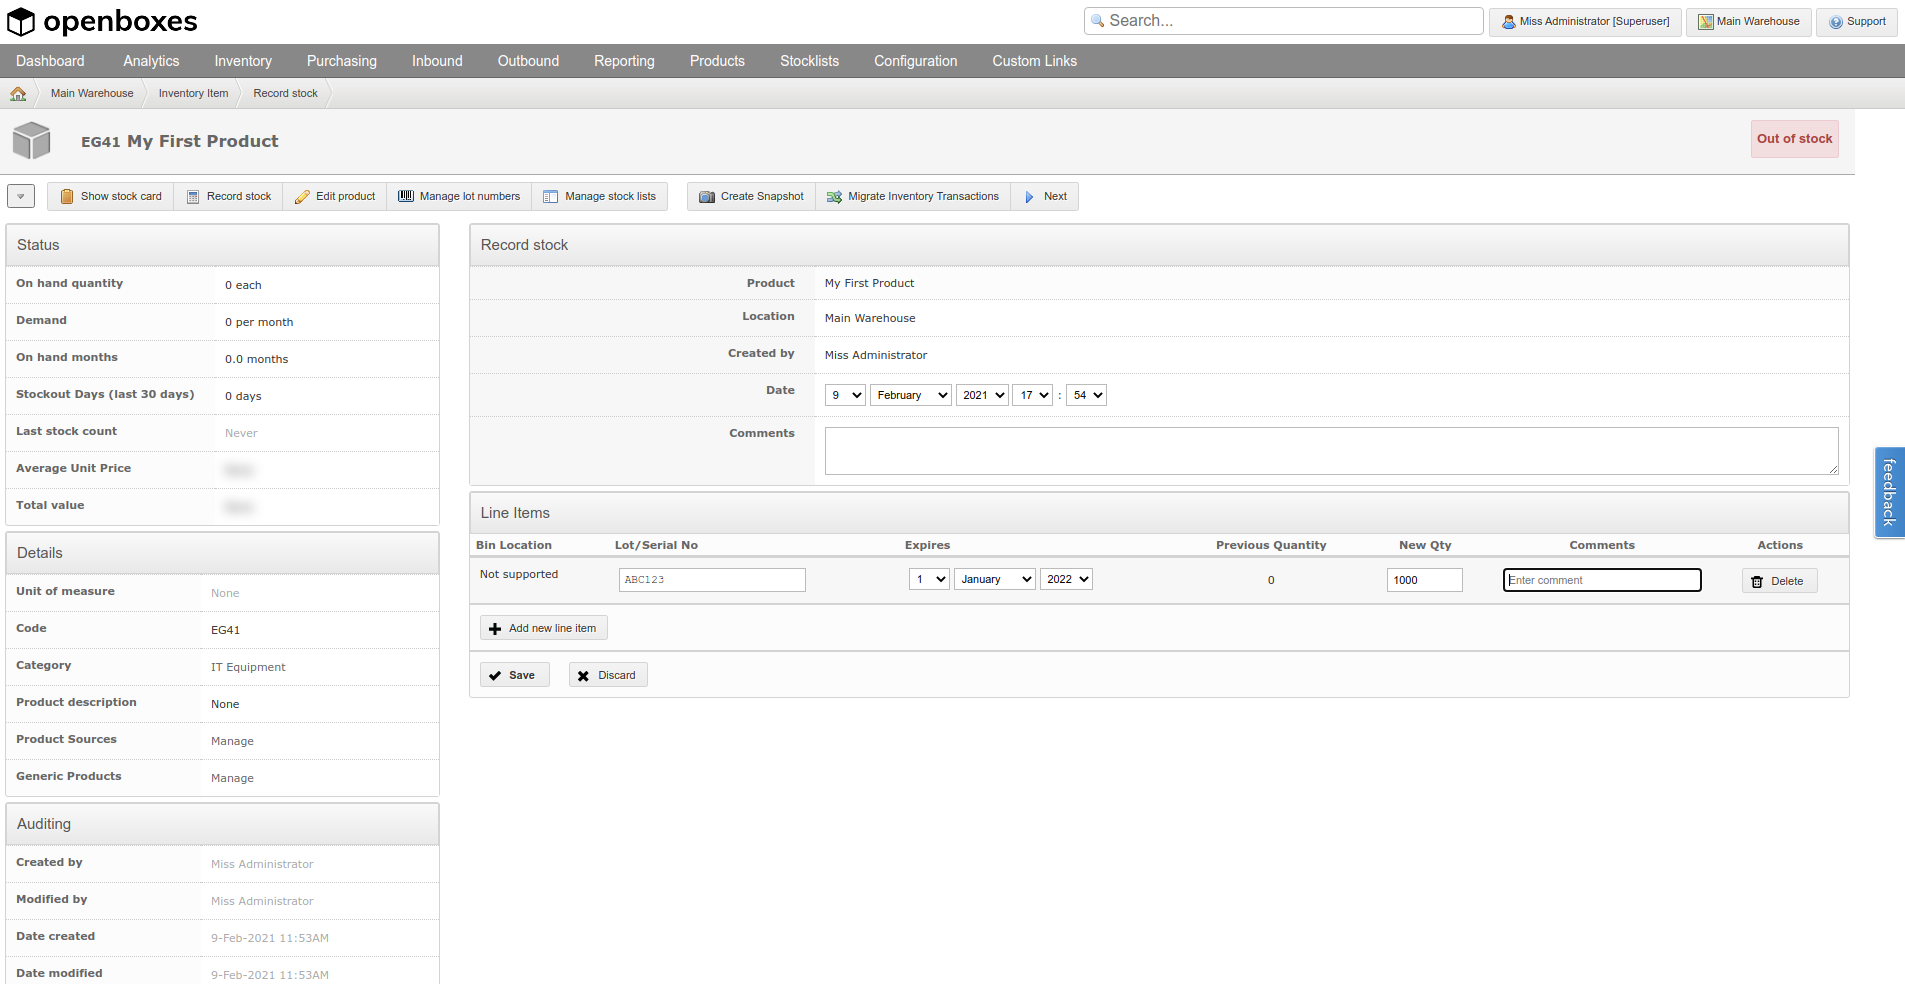
Note: Bin locations are not supported by default. You’ll need to add one of the following supported activities (e.g. PICK_STOCK, PUTAWAY_STOCK) to the location type (Depot) or location (Main Warehouse) in order to enable bin locations AND create at least bin location under Main Warehouse in order for bin locations to be enabled.
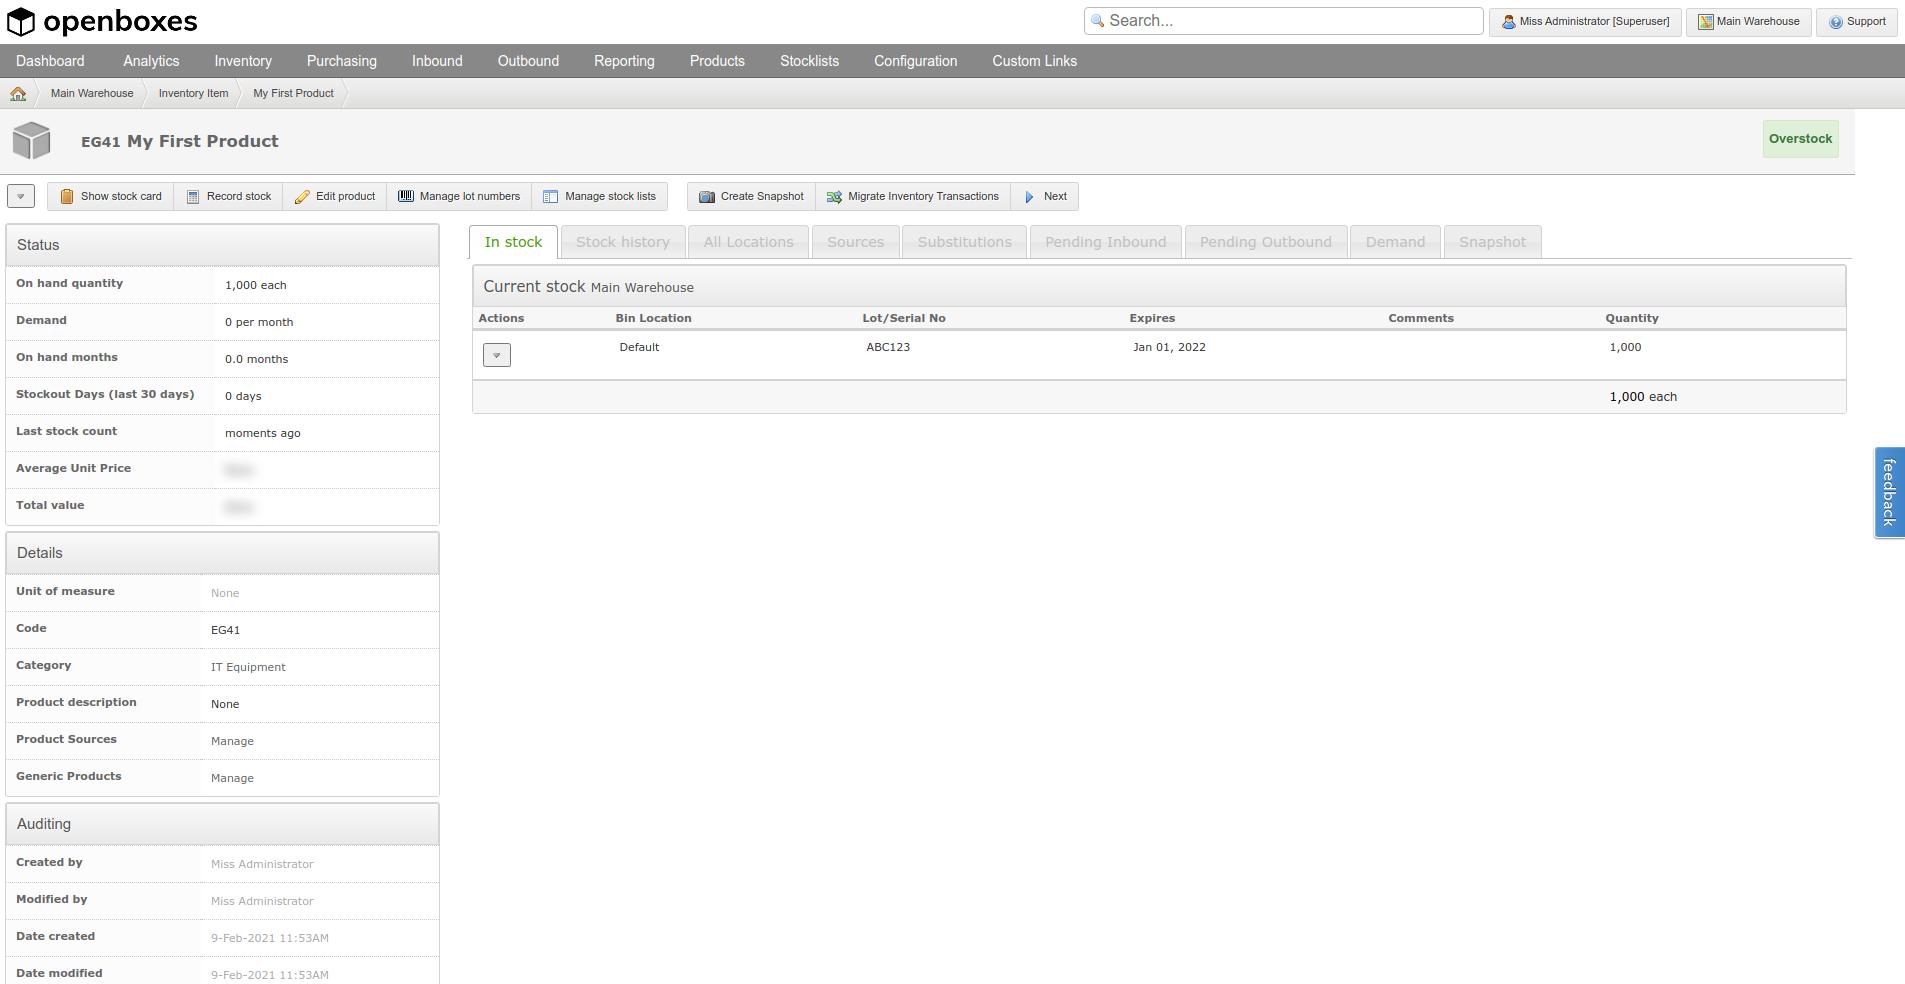
Step 6. View Stock Card
-
Click the Show Stock Card button